
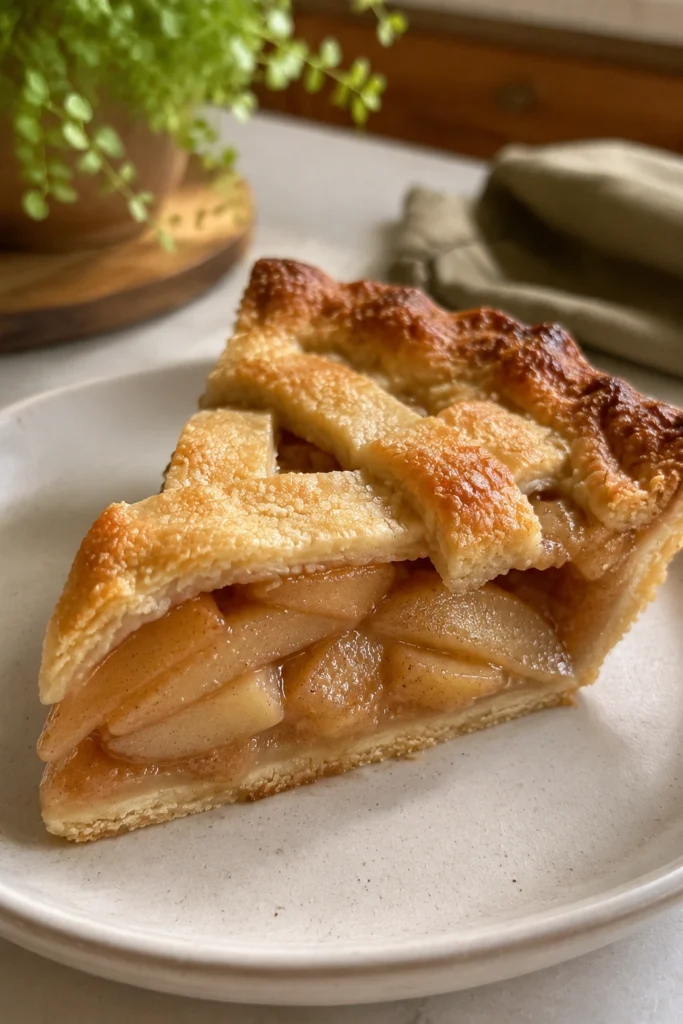
When people think of thanksgiving desserts, apple and pumpkin pie usually come to mind first. This easy pear pie is here to change that, with soft cinnamon-spiced pears wrapped in a buttery, flaky crust.
It’s one of those dessert recipes that feels both nostalgic and refreshingly different. Best of all, the pears don’t need to be cooked ahead of time, which makes this pie a genuinely quick and easy option.
If you’re looking for a unique fruit pie to add to your holiday spread this year, this recipe deserves a spot on your table.
Why You’ll Love This Pear Pie Recipe
This pie brings a fresh twist to the usual holiday dessert lineup while staying simple enough for any home baker.
- No pre-cooking required: Pears are naturally soft, so there’s no need to cook the fruit before baking.
- A crowd favorite: The cinnamon and lemon zest combination surprises guests in the best way.
- Kid friendly: Kids love helping cut decorative slits into the top crust.
- Freezer friendly: Bake ahead and freeze for up to 3 months.
- Simple ingredients: Everything comes together with pantry staples and fresh pears.
This combination of ease and unexpected flavor makes it a truly unique addition to any Thanksgiving dessert table.
Common Mistakes (And How to Avoid Them)
A few small details can make a big difference with this recipe, so keep these tips in mind.
Skipping the lemon juice. Lemon juice keeps the pears from browning while they bake, so don’t leave it out.
Cutting pears too large. Pieces that are too big can cause uneven baking and awkward slices. Aim for bite-sized chunks.
Zesting after juicing. Always zest your lemon before juicing it. Once the juice is out, zesting becomes much harder.
Forgetting the temperature change. This pie bakes at two different temperatures. Skipping the initial higher heat can leave the crust less golden and the fruit undercooked.
Key Ingredients for Easy Pear Pie
Each ingredient plays an important role in building the pie’s flavor and texture.
Pears are the star of the show. Bartlett or Anjou varieties work especially well, peeled and cut into bite-sized chunks.
Butter pie crust forms the buttery, flaky shell. A double crust recipe is used here, one for the bottom and one for the top.
Cinnamon brings warmth and coziness, pairing beautifully with the natural sweetness of the pears.
Lemon zest and lemon juice brighten the filling and prevent the pears from browning as they bake.
Sugar and flour sweeten the filling while helping it thicken slightly as the pie bakes.
How to Make Easy Pear Pie
This recipe comes together with just a few simple steps.
- Preheat the oven to 450°F and spray a deep dish pie pan with nonstick spray.
- In a medium bowl, combine the sugar, flour, salt, cinnamon, and lemon zest, mixing well.
- Toss the peeled and chopped pears into the sugar mixture until evenly coated.
- Line the pie pan with the bottom crust.
- Pour the pear mixture into the crust.
- Dot the filling with butter and lemon juice.
- Top with the second crust and seal the edges.
- Cut a few slits into the top crust for ventilation.
- Bake for 10 minutes at 450°F.
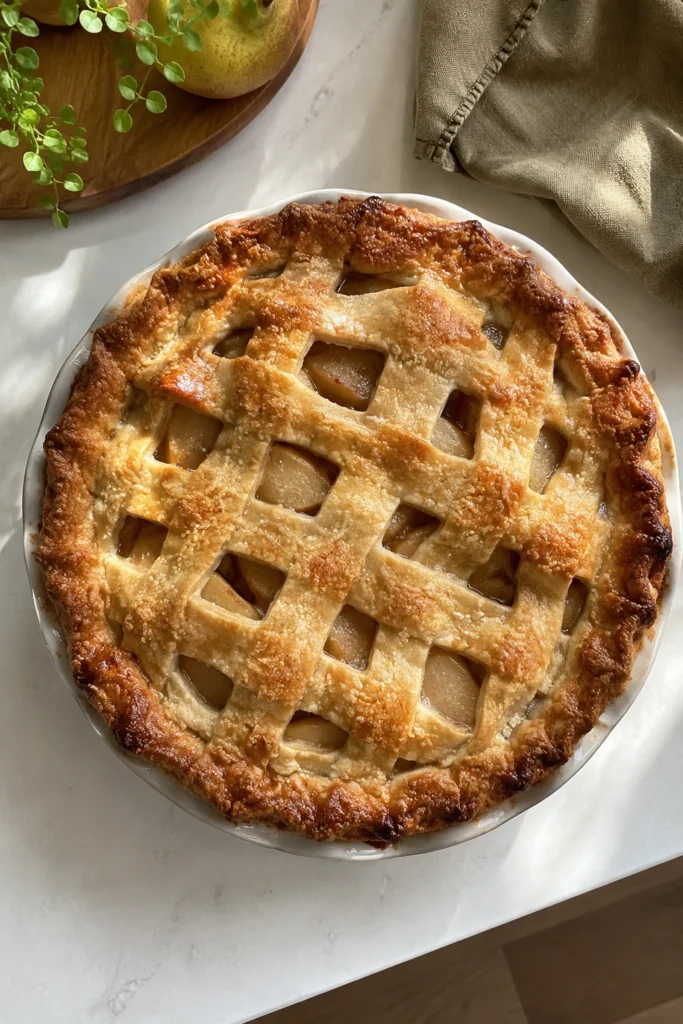
- Reduce the oven temperature to 350°F and continue baking for 35 to 40 minutes, until the crust is golden.
Variations & Tips
This recipe is easy to adapt depending on your needs or what you have on hand.
- Portable option: Turn the filling into mini hand pies for a fun, grab-and-go version of this dessert.
- Make ahead: Bake the pie fully, then freeze it for up to 3 months, wrapped tightly in freezer plastic before storing.
- Filling-only freezing: Freeze just the pear filling for up to 3 months, adding an extra teaspoon of cornstarch to absorb excess moisture.
- Storage tip: This pie keeps well in the refrigerator for up to 5 days after baking.
- Pro tip: Buy a few extra pears. Kids (and adults) tend to snack on them while you’re prepping.
Pro tip: use a butter knife instead of a peeler to remove pear skins, since their thin skin comes off easily this way.
FAQs
Can I freeze pear pie? Yes, you can freeze the baked pie for up to 3 months. Thaw overnight in the refrigerator and let it come to room temperature before serving.
Do I need to cook the pears before baking? No, pears are naturally soft, so they don’t need to be pre-cooked like some other pie fruits.
Why do I need to change the oven temperature while baking? The higher initial temperature helps cook the fruit and crisp the crust, while the lower temperature finishes baking evenly without burning.
How long does this pie last in the fridge? It stays fresh in the refrigerator for up to 5 days after baking.
Easy Pear Pie
Equipment
- deep-dish pie pan
- medium mixing bowl
- measuring cups and spoons
- knife
- pastry brush optional
Ingredients
- 1 double pie crust
- 1/2 cup white sugar
- 3 tbsp all-purpose flour
- 1/2 tsp salt
- 1 tsp ground cinnamon
- 1 tsp lemon zest
- 5 cups peeled and chunked pears
- 1 tbsp butter
- 1 tbsp lemon juice
Instructions
- Preheat the oven to 450°F (230°C) and lightly spray a deep-dish pie plate with nonstick cooking spray.
- In a medium bowl, combine the sugar, flour, salt, cinnamon, and lemon zest. Toss the peeled pear chunks with the mixture until evenly coated.
- Line the pie plate with one pie crust and transfer the pear filling into the crust.
- Dot the filling with butter and drizzle the lemon juice evenly over the pears.
- Cover with the second pie crust, seal and crimp the edges, then cut several slits in the top for steam to escape.
- Bake for 10 minutes at 450°F. Reduce the oven temperature to 350°F (175°C) and continue baking for 35 to 40 minutes, or until the crust is golden brown and the filling is bubbling.
- Allow the pie to cool completely for about 4 hours before slicing and serving.