

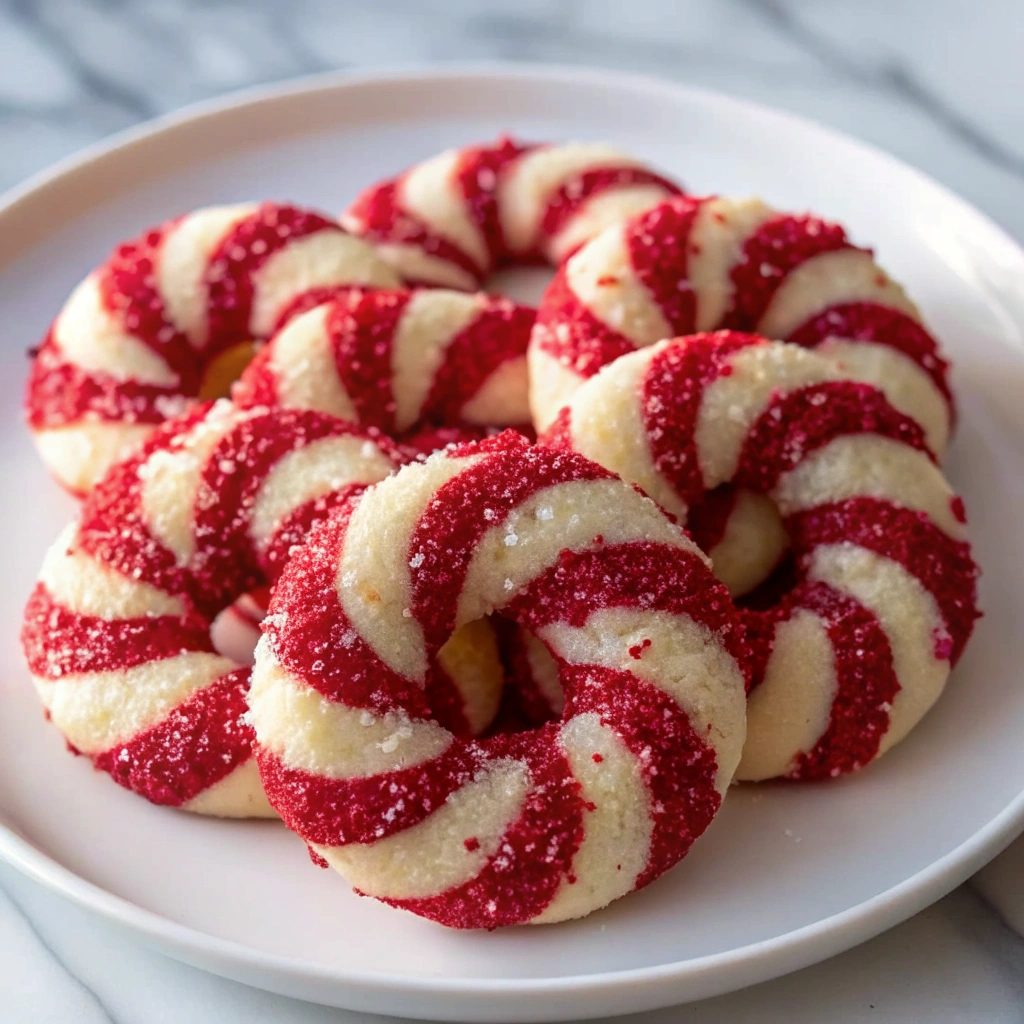
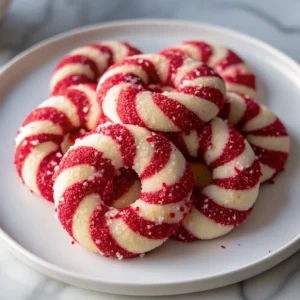
Of all the Christmas cookies recipes, none captures the playful, festive spirit of the season quite like the Candy Cane Cookie. It’s instantly recognizable: the iconic red and white swirl, the delicate twist, and the unmistakable burst of cool, bright peppermint flavor. This cookie isn’t just a treat; it’s a holiday tradition—a delightful, visual project perfect for baking with kids and a guaranteed showstopper on any holiday tray.
While they may look intricate, this candy cane cookies recipe peppermint style is actually based on a simple butter cookie dough, making it far easier to execute than you might think. The key is in the technique of rolling and twisting the two colored ropes—a step that is truly satisfying! We’ll guide you through the secrets to achieving the perfect tight swirl, preventing breakage, and ensuring that classic, crisp peppermint taste. Get ready to bake a batch of holiday cheer!
Why Candy Cane Cookies Are a Must-Bake
These cookies offer a unique combination of visual appeal, engaging technique, and nostalgic holiday flavor, making them one of the most beloved Christmas cookies recipes.
- Iconic Visual Appeal: The classic red and white stripes and the signature curved shape make these cookies instantly identifiable as a holiday staple. They are the perfect centerpiece for a cookie box or platter.
- The Peppermint Factor: The combination of cool, refreshing peppermint extract in the dough and a dusting of crushed candy canes on top delivers that essential holiday taste that evokes warmth and nostalgia.
- Hands-On Fun: Rolling the dough into ropes and twisting them together is a genuinely fun and engaging process. It’s a great Christmas cookies recipe to make with children, who will love helping with the coloring and twisting!
- Portability and Gifting: Their sturdy shape makes them easy to stack, transport, and gift. They are always a welcome addition to a holiday cookie exchange.
The Anatomy of the Perfect Peppermint Twist
The success of the candy cane cookies recipe peppermint style depends on three core elements: a sturdy dough, vibrant coloring, and the right twisting technique.
1. The Dough: Soft, Sturdy, and Cold
- The Butter Base: This is a classic butter cookie (shortbread style) dough, meaning it relies on a high ratio of butter to flour. This results in a sturdy, non-spreading cookie that holds the twist shape beautifully.
- Peppermint Extract: The flavoring is added directly to the dough. We recommend using pure peppermint extract for a clean, strong flavor. Vanilla extract is also used in the white portion to give it a classic flavor base.
- The Chill Time: Chilling the dough twice is essential. The first chill makes the dough easy to roll and prevents cracking; the second chill (after twisting) prevents the ropes from straightening out or losing their shape during baking.
2. Coloring: Achieving a Vivid Red
- Go Gel: For a vibrant, deep red without adding excess moisture to the dough, use gel food coloring (such as Wilton or Americolor). Liquid coloring will require too much to achieve the right color and can change the dough’s consistency.
- Coloring Timing: Add the red food coloring to one half of the dough after the dough is fully mixed but before the first chill.
3. The Twisting Technique
- Rope Uniformity: Both the red and white ropes must be the exact same thickness and length (about 1/4 inch thick and 6 inches long). If they are different, the twist will look messy.
- The Gentle Twist: Don’t twist too tightly, or the ropes will break. A gentle, even roll between your fingers or on a flat surface is all that is needed to create the stripe. Pinch the ends together firmly and bend the top end to create the “hook” shape.
Step-by-Step: Twisting Your Candy Cane Masterpiece
This method ensures you get the perfect colors, texture, and the all-important, tight twist.
- Prep Time: 30 Minutes
- Chilling Time: 2-3 Hours
- Cooking Time: 8-10 Minutes
- Yields: About 4 Dozen Cookies
Part 1: The Dough and Color Prep
- Cream and Flavor: In a large bowl, cream the softened butter, granulated sugar, and salt until light and fluffy. Beat in the egg and vanilla extract. Gradually mix in the flour until the dough is just combined.
- Divide Dough: Divide the dough evenly in half. Leave one half plain (white).
- Color and Flavor: To the second half, add the red gel food coloring and peppermint extract. Mix until the color is uniform and vibrant.
- Initial Chill: Wrap both the red and white dough in plastic wrap and chill for 1 hour.
Part 2: Rolling, Twisting, and Shaping
- Roll the Ropes: Take a small piece of the white dough (about 1 teaspoon) and roll it into a rope approximately 6 inches long and 1/4 inch thick. Repeat with a small piece of the red dough. Tip: Roll on a lightly floured surface or between your hands.
- Twist: Place the red and white ropes side-by-side. Gently press the top ends together. Twist the two ropes together, starting at the top and working down, creating a striped pattern.
- Shape: Gently bend the top of the twisted rope down to form the curved “hook” shape of the candy cane. Pinch the ends firmly to seal.
- Final Chill: Place the shaped candy canes onto a parchment-lined baking sheet. Cover the entire sheet with plastic wrap and chill for at least 1 hour (or up to 2 days) to set the shape.
Part 3: Bake and Decorate
- Preheat and Prep: Preheat oven to 375°F (190°C).
- Bake: Bake the chilled cookies for 8-10 minutes, or until the white parts are set and the edges are just very lightly golden. Do not overbake or they will become dry and brittle.
- Peppermint Sugar Topping (Optional): While the cookies are still warm, lightly brush them with a thin egg wash (1 egg white beaten with a splash of water) and sprinkle with crushed candy canes or sanding sugar. The warmth helps the candy stick.
- Cool: Let the cookies cool completely on a wire rack.
Pro-Tips and Troubleshooting for Swirl Perfection
Guarantee a flawless batch of the best candy cane cookies recipe peppermint style with these easy solutions to common problems.
| Problem | Cause | Quick Fix |
| Cookies Spreading/Losing Shape | Dough was not chilled enough before baking. | Slice a small piece off the end of a log and bake as a test. If it spreads, put the logs back in the freezer for 15 minutes. |
| Ropes Breaking During Twist | Dough is too cold, dry, or inconsistent. | Let the dough sit at room temperature for 5-10 minutes to soften slightly. If too dry, add a few drops of milk and knead it in. |
| Twist Separates While Baking | Ends were not pinched firmly enough. | Ensure the end seam is completely sealed before baking. Adding a light egg wash to the seam before twisting can help them fuse. |
| Uneven Stripes | Ropes were not rolled to the exact same thickness. | Use a ruler to ensure your dough ropes are uniformly 1/4 inch thick before twisting. |
Freezing and Storage for Holiday Prep
Candy Cane Cookies are excellent for preparing ahead, allowing you to focus on other holiday tasks!
- Freezing Baked Cookies: The baked cookies store well in an airtight container for up to 1 week at room temperature. They can be frozen for up to 3 months; freeze them in a single layer until solid, then transfer them to an airtight container separated by wax paper.
- Freezing Dough Logs (Best Method): You can freeze the unbaked, colored dough logs (before twisting) wrapped tightly for up to 3 months. Thaw them in the fridge overnight, then proceed with the rolling and twisting steps. Alternatively, freeze the fully shaped, unbaked candy canes for the fastest baking!
Conclusion: The Iconic Holiday Cookie
The Candy Cane Cookies recipe is a cherished holiday tradition for a reason. It combines a simple, delicious butter cookie with the fun, festive work of rolling and twisting. The result is a stunning, peppermint-infused treat that captures the magic of the season. By following these tips for perfect color and shape, you’ll master this iconic cookie and make it the star of your holiday platter this year!
Classic Candy Cane Cookies Recipe
Equipment
- mixing bowls
- electric mixer
- measuring cups and spoons
- Plastic Wrap
- baking sheet
- parchment paper
- wire cooling rack
Ingredients
- 1 cup unsalted butter, softened
- 1 cup granulated sugar
- 1 large egg
- 1 teaspoon vanilla extract
- ½ teaspoon peppermint extract (for red dough)
- ½ teaspoon salt
- 3 cups all-purpose flour, spooned and leveled
- 1–2 teaspoons red gel food coloring
- optional crushed candy canes or sanding sugar for garnish
Instructions
- In a large bowl, cream the softened butter and sugar together until light and fluffy. Beat in the egg, vanilla extract, and salt. Gradually add flour and mix just until combined into a soft dough.
- Divide the dough in half. Leave one half plain (white). To the second half, add peppermint extract and red gel food coloring. Mix until color is uniform.
- Wrap both red and white doughs tightly in plastic wrap and chill for 1 hour to firm up for rolling.
- Roll 1 teaspoon of white dough and 1 teaspoon of red dough into ropes about 6 inches long and 1/4 inch thick. Place ropes side by side, press the tops together, and twist gently to form a spiral. Bend one end to create the classic candy cane hook shape.
- Place shaped candy canes on a parchment-lined baking sheet. Cover and chill for at least 1 hour or up to 2 days before baking.
- Preheat oven to 375°F (190°C). Bake chilled cookies for 8–10 minutes or until set and just barely golden at the edges. Do not overbake.
- While cookies are still warm, lightly brush with egg wash and sprinkle with crushed candy canes or sanding sugar, if desired. Cool completely on a wire rack.
Notes
• Use gel food coloring for a vibrant red without altering the dough texture.
• Ensure ropes are the same length and thickness for even stripes.
• If dough cracks when rolling, let it rest at room temperature for 5–10 minutes. Storage: Store baked cookies in an airtight container for up to 1 week or freeze up to 3 months. Freeze unbaked twisted candy canes for easy holiday prep.