
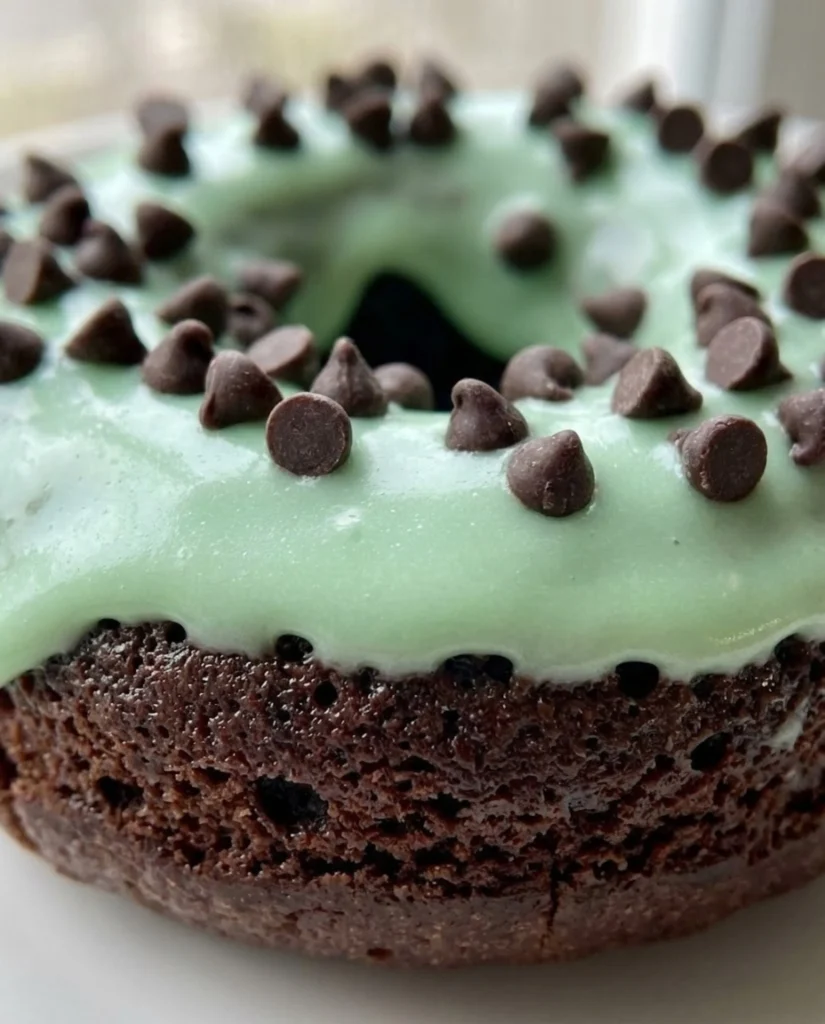
Every year, St. Patrick’s Day rolls around and you ask yourself: what are the most fun, show-stopping St. Patrick’s Day treats I can actually pull off at home? Forget the green-dyed beer. These Baked Mint Chocolate Chip Doughnuts are fluffy, fragrant, and dipped in an emerald glaze that makes them almost too pretty to eat.
The magic here is in the mint. Real peppermint extract doesn’t just add flavor — it triggers a cold-sensing receptor on your tongue called TRPM8, which is why mint always feels refreshingly cool even at room temperature. Paired with the deep, bitter richness of chocolate chips, you get a flavor duo that has captivated taste buds for over a century.
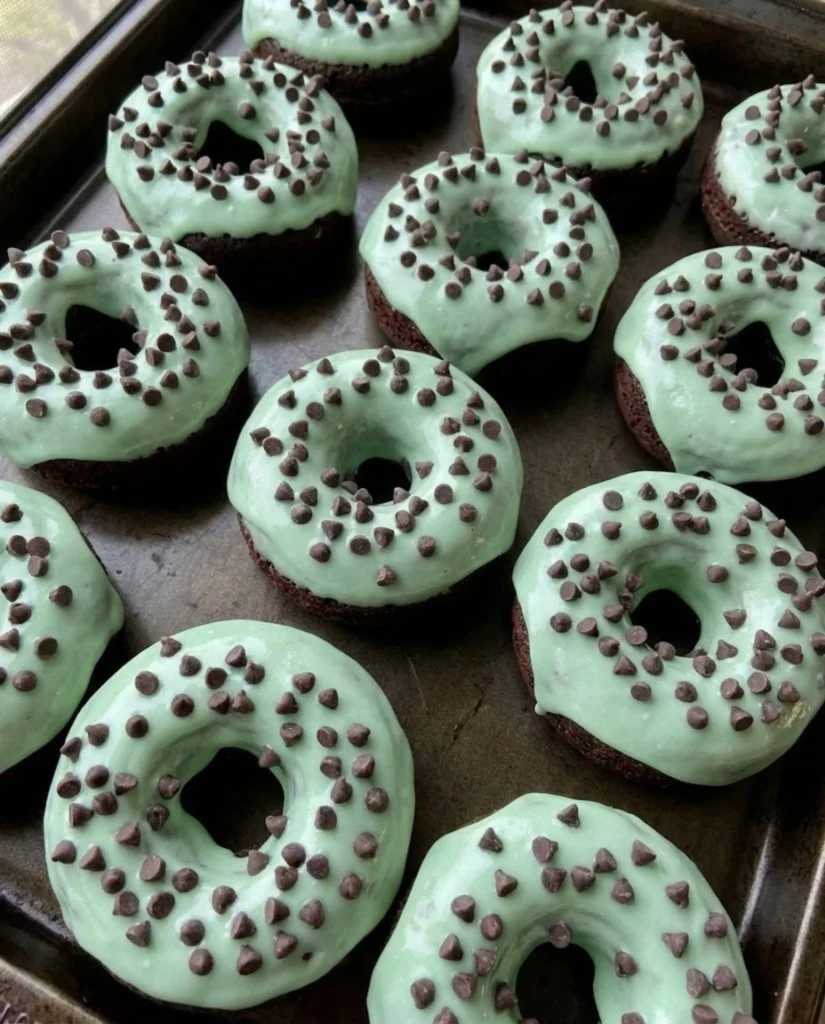
And because these are baked, not fried, you can have a full dozen on the table in about 30 minutes — no hot oil, no thermometer, no stress. Whether you’re throwing a St. Patrick’s Day party or just making a festive weekday breakfast, these doughnuts deliver on every front.
Why You’ll Love These Baked Mint Chocolate Chip Doughnuts
First: they are genuinely fast. From mixing bowl to table, you’re looking at roughly 30 minutes. No waiting for yeast to proof, no deep fryer to babysit. This is baked-doughnut speed — totally achievable on a Tuesday morning before school.
Second: the flavor is layered and intentional. Mint and chocolate isn’t a happy accident — the cooling quality of peppermint actually brightens and cuts through the richness of chocolate, creating a contrast that keeps every single bite interesting. This is flavor science you can taste.
Third: they are wildly family-friendly and completely customizable. Kids love the festive green glaze. Adults appreciate that they’re not tooth-achingly sweet. And because they’re baked, you can feel slightly less guilty about eating three of them.
Common Mistakes — And How to Avoid Them
Mistake 1: Using Mint Extract Instead of Peppermint Extract
Spearmint and peppermint taste very different. Spearmint is soft and candy-like. Peppermint is bright, cool, and assertive — exactly what you want for the classic mint-chocolate pairing. Always reach for pure peppermint extract and make sure it says “pure,” not “imitation.”
Mistake 2: Overmixing the Batter
Overmixing develops gluten and turns your doughnuts tough and chewy instead of tender and pillowy. Stir only until the dry ingredients are just incorporated. A few small lumps in the batter? Completely fine — actually preferred.
Mistake 3: Overbaking
Baked doughnuts go from perfect to dry in a matter of minutes. Start checking at the 9-minute mark. They should spring back lightly when pressed and a toothpick should come out clean. Pull them the second that happens — not a moment longer.
Mistake 4: Glazing Warm Doughnuts
If your doughnuts are even slightly warm when you dip them, the glaze will slide straight off. Give them a full 10 minutes on a wire rack before glazing. Patience here is rewarded with a gorgeous, glossy, set coating.
Chef’s Notes
As a chef, I want you to understand why mint and chocolate work together — not just that they do. Chocolate, especially dark chocolate, carries compounds that deliver bitterness and a deep earthiness. Mint’s cooling effect provides a sensory contrast that literally resets your palate after each rich bite. It’s the same principle behind pairing wine with cheese: contrast creates balance, and balance is what makes food memorable.
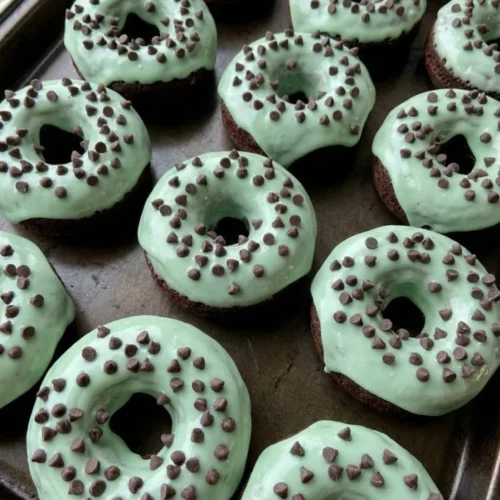
For these doughnuts, I strongly recommend mini chocolate chips over regular-sized ones. They distribute far more evenly through the batter, meaning you get a little chocolate in every single bite rather than large, uneven pockets. Small change, big flavor payoff.
One more thing: do not skip the green food coloring in the glaze. We eat with our eyes first. The visual promise of a bright, emerald-glazed doughnut primes your brain to expect something festive and delicious — and your taste buds will follow right along.
Key Ingredients & Why They Matter
All-Purpose Flour is the structural foundation of your doughnut. It provides the protein network that holds everything together. For a slightly more tender crumb, you can swap up to half of it with cake flour, which has lower protein and creates a finer, softer texture.
Baking Powder is your leavening agent. It reacts with moisture and heat to produce the CO2 bubbles that make your doughnut rise and stay light. Always check that yours isn’t expired — old baking powder is the silent killer of fluffy baked goods.
Buttermilk does two things beautifully. Its acidity tenderizes the gluten strands for a softer crumb, and it reacts with the baking powder to give an extra boost of rise. It also adds a subtle tang that keeps the doughnut from tasting flat. No buttermilk? Add 1 tablespoon of white vinegar to regular milk and let it sit for 5 minutes.
Pure Peppermint Extract is the star of these St. Patrick’s Day treats. Use the real thing — not imitation — for a clean, bright flavor without any artificial aftertaste. Start with the recipe amount, then taste the batter and adjust. Mint intensity genuinely varies by brand.
Mini Chocolate Chips carry small amounts of cocoa butter and stabilizers that prevent them from fully melting, giving you distinct, satisfying chocolate pockets in every bite. Mini chips distribute more evenly than full-sized ones — a detail that matters more than you’d think.
Powdered Sugar for the glaze dissolves instantly in liquid, creating that silky, smooth finish. The cornstarch already present in powdered sugar helps the glaze set up firm and hold its shine once it dries.
How to Make Baked Mint Chocolate Chip Doughnuts
- Preheat your oven to 375°F (190°C). Grease a standard 6-cavity doughnut pan thoroughly with nonstick spray or melted butter. This step is non-negotiable — doughnuts cling aggressively to ungreased pans.
- In a large bowl, whisk together the flour, baking powder, baking soda, salt, and sugar until evenly combined.
- In a separate bowl, whisk the egg, buttermilk, melted butter, and peppermint extract until smooth and uniform.
- Pour the wet ingredients into the dry and stir gently with a spatula until just combined. Fold in the mini chocolate chips. Do not overmix.
- Transfer the batter to a large zip-lock bag or piping bag. Snip off one corner and pipe the batter evenly into the doughnut cavities, filling each about two-thirds full.
- Bake for 10–12 minutes, until the tops spring back when lightly pressed and a toothpick inserted into the thickest part comes out clean.
- Cool in the pan for 5 minutes, then carefully transfer to a wire rack. Let cool completely — about 10 more minutes — before glazing.
- Make the glaze: whisk powdered sugar, milk, peppermint extract, and a few drops of green gel food coloring until smooth and glossy. Adjust milk for consistency — thick enough to coat without being gloppy.
- Dip each cooled doughnut face-down into the glaze, hold for a moment, then lift and let the excess drip off. Set on the wire rack and immediately scatter mini chocolate chips over the top.
- Allow the glaze to set for 5–10 minutes before serving. Stand back and admire your St. Patrick’s Day treats before someone devours them.
Ingredients
For the Doughnuts:
- 1 cup all-purpose flour
- 1 tsp baking powder
- ¼ tsp baking soda
- ¼ tsp salt
- ⅓ cup granulated sugar
- 1 large egg
- ½ cup buttermilk
- 2 tbsp unsalted butter, melted
- 1 tsp pure peppermint extract
- ½ cup mini chocolate chips
For the Glaze:
- 1 cup powdered sugar
- 2–3 tbsp milk
- ½ tsp pure peppermint extract
- Green gel food coloring
- Extra mini chocolate chips for topping
Variations & Tips
Make It Vegan: Swap the egg for a flax egg (1 tablespoon ground flaxseed + 3 tablespoons water, rested 5 minutes). Use plant-based milk with a splash of apple cider vinegar in place of buttermilk, and coconut oil instead of butter. Dairy-free chocolate chips work perfectly here.
Make It Gluten-Free: Use a 1:1 gluten-free all-purpose flour blend. The texture will be slightly denser but still totally delicious. Let the batter rest for 5 minutes before piping to give the GF flour time to fully hydrate.
Double the Chocolate: Add 2 tablespoons of unsweetened cocoa powder to the batter for a deeply chocolatey base. Reduce the flour by the same amount to keep the ratio balanced. The result tastes like a mint brownie in doughnut form.
Pro Tip — Gel vs. Liquid Food Coloring: Always use gel coloring for glazes. Liquid food coloring introduces too much water, which thins the glaze and prevents it from setting. Gel is concentrated, so a tiny drop goes an impressive distance.
How to Meal Prep These St. Patrick’s Day Treats
Baked doughnuts are meal-prep friendly in a way that fried doughnuts simply cannot be. Here’s how to plan ahead without sacrificing quality.
Make the Batter Ahead: Mix the dry and wet ingredients separately and store them in covered containers in the fridge for up to 24 hours. Combine and fold in the chocolate chips right before baking — this keeps the leavening agents from activating too early.
Bake and Freeze: Unglazed, fully cooled doughnuts freeze beautifully for up to 2 months. Freeze them in a single layer first, then transfer to a zip-lock freezer bag. Thaw at room temperature and glaze fresh before serving so they look and taste just-made.
Storing Glazed Doughnuts: These are best eaten the day they’re made. If you need to store them, an airtight container at room temperature will keep them good for up to 2 days. The glaze softens slightly but the flavor stays excellent.
Cultural Context: Why Mint and Green Are the Perfect St. Patrick’s Day Combo
St. Patrick’s Day is celebrated on March 17th in honor of Ireland’s patron saint, and while it has deep religious roots, it has evolved into a global celebration of Irish heritage — with green as its most iconic symbol. Wearing green, eating green, drinking green: it’s all part of the festive visual language of the day.
Mint has a long and genuine culinary history in Ireland and across the British Isles, where it was used for centuries in sauces, teas, and traditional sweets. Its naturally vibrant green hue and refreshing flavor make it an almost poetic fit for St. Patrick’s Day treats — festive in color and rooted in real culinary tradition.
Chocolate arrived in Europe from the Americas in the 17th century and quickly became woven into confectionery culture across the continent. The mint-chocolate pairing as we know it was popularized in the early 20th century and has since become one of the most universally beloved flavor combinations in the world — proof that two very different flavors, brought together thoughtfully, can create something far greater than either alone.
So when you make these Baked Mint Chocolate Chip Doughnuts, you’re not just putting together a quick batch of St. Patrick’s Day treats. You’re participating in a centuries-long story of flavor, culture, and celebration. And that, honestly, makes them taste even better.
Baked Mint Chocolate Chip Doughnuts
Equipment
- 6-cavity doughnut pan
- mixing bowls
- whisk
- spatula
- wire cooling rack
Ingredients
- 1 cup all-purpose flour
- 1 tsp baking powder
- 1/4 tsp baking soda
- 1/4 tsp salt
- 1/3 cup granulated sugar
- 1 large egg
- 1/2 cup buttermilk
- 2 tbsp unsalted butter, melted
- 1 tsp pure peppermint extract
- 1/2 cup mini chocolate chips
- 1 cup powdered sugar
- 2-3 tbsp milk
- 1/2 tsp pure peppermint extract (for glaze)
- green gel food coloring
- extra mini chocolate chips for topping
Instructions
- Preheat oven to 375°F (190°C) and grease a 6-cavity doughnut pan thoroughly.
- Whisk together flour, baking powder, baking soda, salt, and sugar in a large bowl.
- In a separate bowl, whisk egg, buttermilk, melted butter, and peppermint extract until smooth.
- Pour wet ingredients into dry and stir gently until just combined. Fold in mini chocolate chips.
- Pipe batter into doughnut pan, filling each cavity about two-thirds full.
- Bake 10–12 minutes until tops spring back and a toothpick comes out clean.
- Cool in pan 5 minutes, then transfer to wire rack and cool completely.
- Whisk powdered sugar, milk, peppermint extract, and green gel coloring until smooth. Adjust consistency as needed.
- Dip cooled doughnuts into glaze, let excess drip off, and sprinkle with mini chocolate chips. Allow glaze to set before serving.