These no-bake granola bars are chewy, sweet, and ready before your oven even thinks about preheating. I keep a batch in the fridge every single week for busy mornings and after-school crashes. One bowl, one pan, zero baking required.
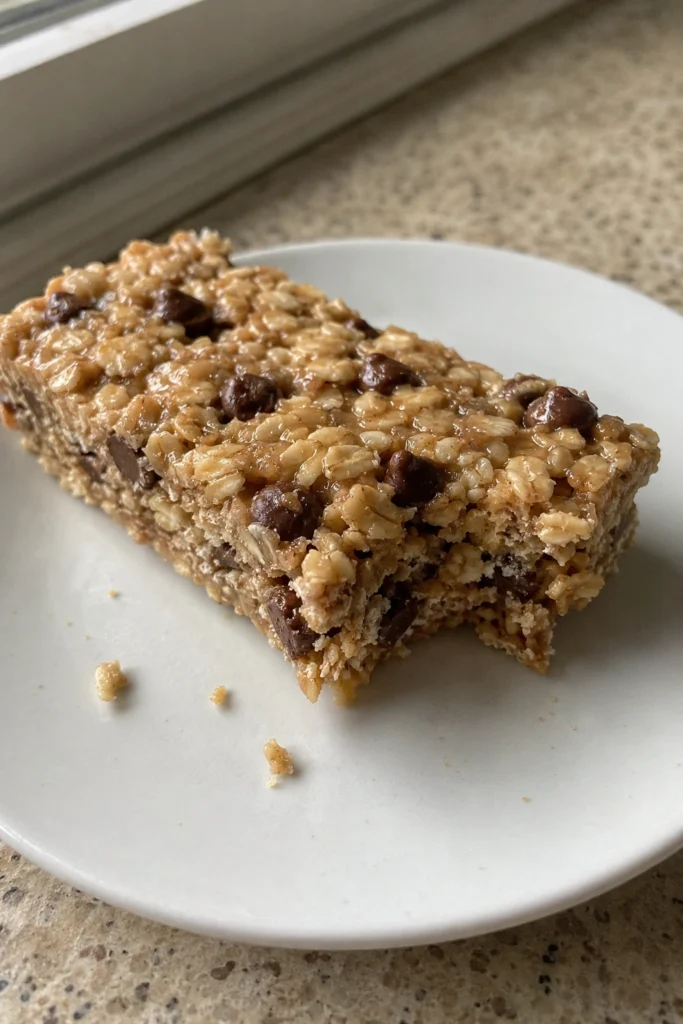
Table of Contents
Why You’ll Love This No-Bake Granola Bar Recipe
No oven means no heating up the kitchen and no waiting around. You just stir, press, chill, and slice.
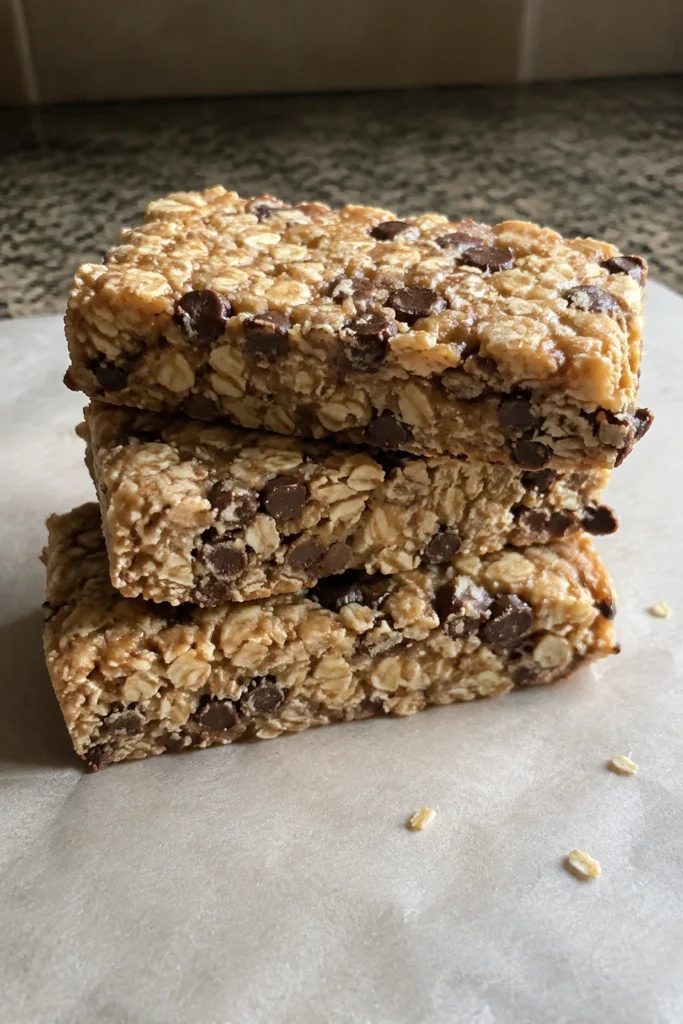
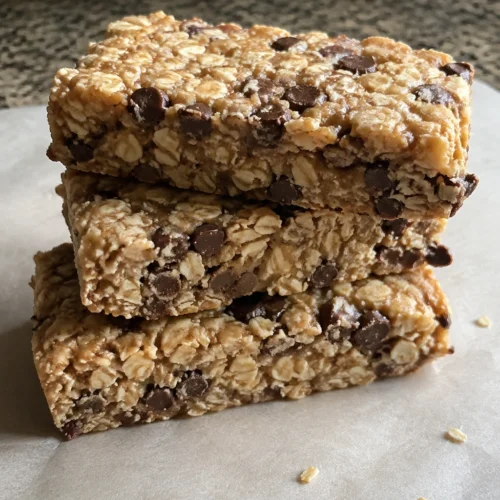
They’re chewy, a little sticky, and packed with peanut butter flavor in every bite. Kids and adults both go back for seconds.
They’re endlessly practical for busy weeks. Make them Sunday night and you’ve got grab-and-go healthy snacks ready for lunchboxes, hikes, or a 3pm energy dip all week long.
Ingredients for No-Bake Granola Bars
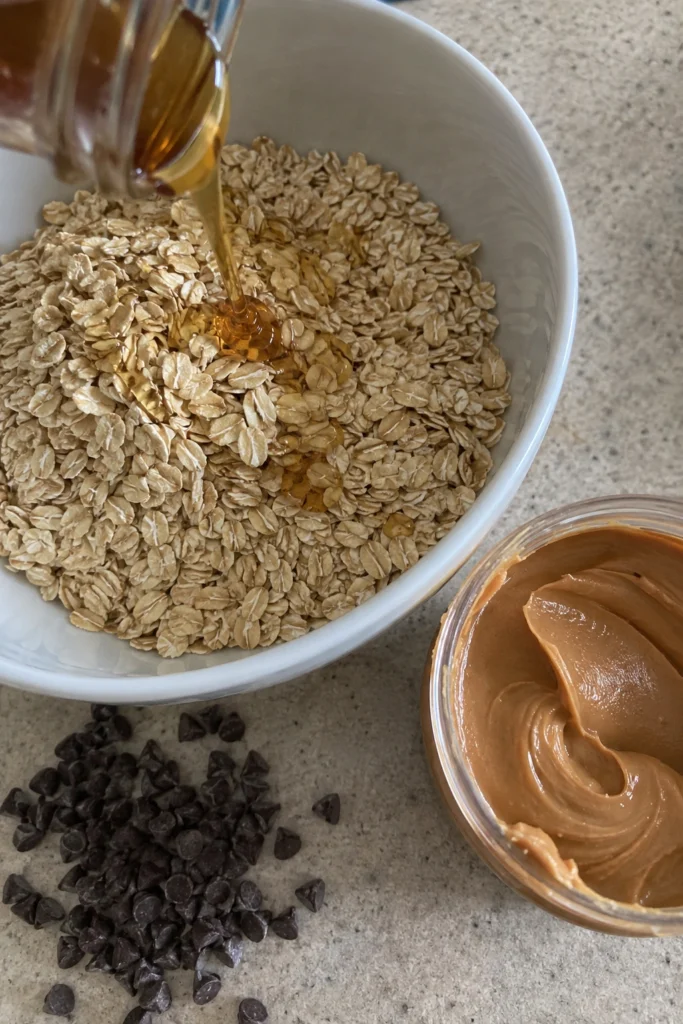
- Old-fashioned rolled oats (2 ½ cups) — these hold their shape and give the bars a hearty, chewy bite. Skip quick oats; they turn mushy once the wet mixture is stirred in.
- Creamy peanut butter (½ cup) — this is your main binder along with the honey. Any drippy natural peanut butter works, but a well-stirred, no-stir-needed style binds a little more reliably.
- Honey (½ cup) — adds sweetness and works with the peanut butter to glue everything together. Maple syrup is a good swap if you want it fully vegan.
- Brown sugar (2 tablespoons) — melts into the wet mixture for extra chew and a hint of caramel flavor.
- Vanilla extract (1 teaspoon) — rounds out the sweetness and makes the bars taste bakery-fresh.
- Salt (¼ teaspoon) — balances all that sweetness so the bars don’t taste one-note.
- Mini chocolate chips (½ cup) — for that classic chewy granola bar flavor. Swap in raisins, dried cranberries, or chopped nuts if you prefer.
- Crisp rice cereal (1 cup) — adds a lighter crunch between the chewy oats. You can also use puffed quinoa for extra protein.
How to Make No-Bake Granola Bars
- Line your pan. Line an 8×8-inch baking pan with parchment paper, leaving an overhang on two sides so you can lift the bars out later.
- Combine the dry ingredients. In a large mixing bowl, stir together the 2 ½ cups rolled oats and 1 cup crisp rice cereal.
- Warm the binder. In a small saucepan over medium-low heat, combine the ½ cup peanut butter, ½ cup honey, 2 tablespoons brown sugar, and ¼ teaspoon salt. Stir for 2-3 minutes, just until smooth and the sugar dissolves. Do not let it boil.
- Add vanilla. Remove the saucepan from heat and stir in the 1 teaspoon vanilla extract.
- Mix it all together. Pour the warm peanut butter mixture over the oat mixture and stir well until every oat is coated.
- Fold in the chocolate chips. Let the mixture cool for about 5 minutes, then fold in the ½ cup mini chocolate chips so they don’t fully melt.
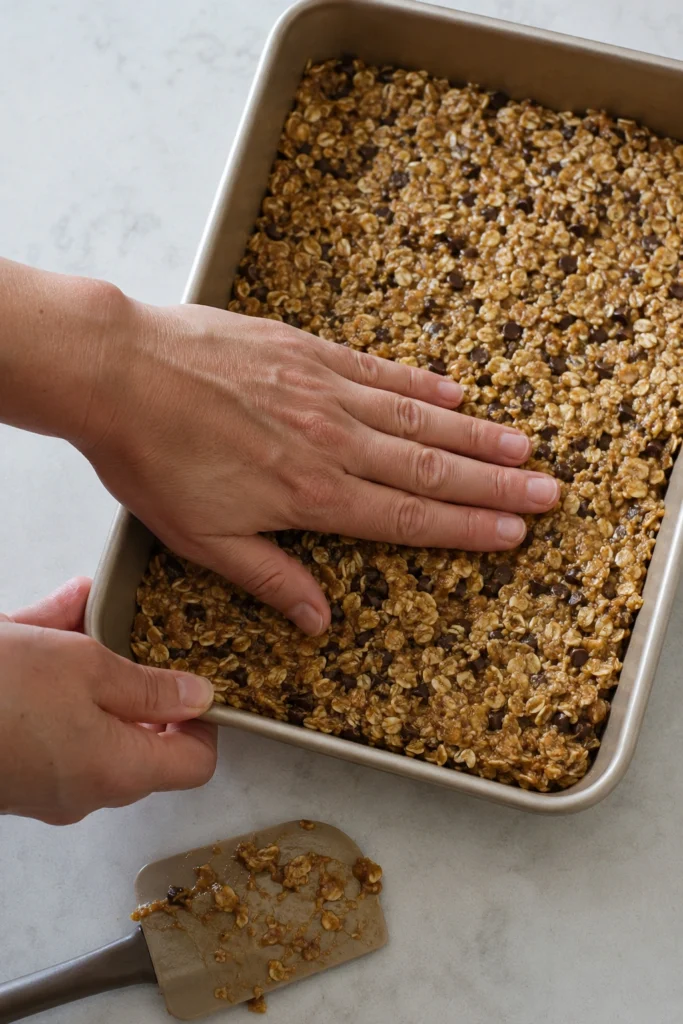
- Press firmly into the pan. Transfer the mixture to your lined pan. Using the back of a spatula or your hands (lightly greased), press down very firmly and evenly across the whole pan. This step is what keeps your bars from crumbling, so really press hard.
- Chill until firm. Refrigerate for at least 1 hour, or until the bars are firm to the touch.
- Slice and serve. Lift the block out using the parchment overhang and slice into 12 bars with a sharp knife.
Tips for Success
Press harder than feels necessary. The number one reason no-bake granola bars fall apart is not enough pressure when packing them into the pan. Use your palms or a sturdy spatula and push down firmly for a good 30 seconds across the whole pan.
Don’t skip the chill time. The bars need a full hour in the fridge to firm up properly before slicing. Cutting them too early results in a crumbly, sticky mess instead of clean bars.
Use old-fashioned oats, not instant. Instant or quick oats absorb the wet mixture too fast and turn the bars mushy instead of chewy. Old-fashioned rolled oats hold their shape and give that classic bite.
Variations
Swap the chocolate chips for raisins, dried cranberries, or chopped dried apricots for a fruitier bar.
Add a scoop of protein powder in place of 2 tablespoons of the oats if you want a post-workout boost, similar to how we bump up protein in our Protein Pumpkin Smoothie.
Stir in 2 tablespoons of mini pretzels or crushed nuts for extra crunch and a sweet-and-salty flavor.
Try almond butter or sunflower seed butter instead of peanut butter if you need a nut-free version for school lunches, the same way we keep things allergy-friendly in our Back-to-School Lunchbox Snack Boxes.
What to Serve With No-Bake Granola Bars
Pack a bar alongside fresh fruit and a handful of nuts for a balanced snack box, similar to how we build our Hummus Veggie Snack Boxes.
They’re also great crumbled over yogurt for a quick breakfast, or paired with a smoothie on busy mornings.
For a lunchbox that covers all the bases, tuck a bar next to Turkey Pesto Pinwheels and some cut veggies.
FAQs
Can I make these No-Bake Granola Bars gluten-free? Yes, just use certified gluten-free rolled oats and check that your crisp rice cereal is labeled gluten-free, since some brands are processed with barley malt.
How do I store no-bake granola bars? Keep them in an airtight container in the fridge for up to 2 weeks, with parchment between layers so they don’t stick. They’ll also hold for a few days at room temperature, though they soften slightly.
Can I freeze these bars? Absolutely. Wrap each bar individually in plastic wrap, place in a freezer bag, and freeze for up to 3 months. Thaw in the fridge overnight before eating.
Why did my bars fall apart? This almost always means they weren’t pressed firmly enough into the pan or weren’t chilled long enough before slicing. Press hard and give them a full hour in the fridge for clean cuts.
Final Thoughts
These no-bake granola bars are one of those recipes I come back to again and again because they’re so forgiving and so fast. No oven, no fancy equipment, just a sturdy snack that actually holds up in a backpack or lunch bag.
Give this batch a try this week and see how quickly it disappears. I’d love to hear which mix-ins you land on.
No-Bake Granola Bars

Ingredients
- 2 1/2 cups old-fashioned rolled oats not quick oats
- 1 cup crisp rice cereal
- 1/2 cup creamy peanut butter
- 1/2 cup honey
- 2 tablespoons brown sugar
- 1 teaspoon vanilla extract
- 1/4 teaspoon salt
- 1/2 cup mini chocolate chips
Instructions
- Line your pan. Line an 8×8-inch baking pan with parchment paper, leaving an overhang on two sides so you can lift the bars out later.
- Combine the dry ingredients. In a large mixing bowl, stir together the 2 1/2 cups rolled oats and 1 cup crisp rice cereal.
- Warm the binder. In a small saucepan over medium-low heat, combine the 1/2 cup peanut butter, 1/2 cup honey, 2 tablespoons brown sugar, and 1/4 teaspoon salt. Stir for 2-3 minutes, just until smooth and the sugar dissolves. Do not let it boil.
- Add vanilla. Remove the saucepan from heat and stir in the 1 teaspoon vanilla extract.
- Mix it all together. Pour the warm peanut butter mixture over the oat mixture and stir well until every oat is coated.
- Fold in the chocolate chips. Let the mixture cool for about 5 minutes, then fold in the 1/2 cup mini chocolate chips so they don’t fully melt.
- Press firmly into the pan. Transfer the mixture to your lined pan. Using the back of a spatula or your hands (lightly greased), press down very firmly and evenly across the whole pan.
- Chill until firm. Refrigerate for at least 1 hour, or until the bars are firm to the touch.
- Slice and serve. Lift the block out using the parchment overhang and slice into 12 bars with a sharp knife.